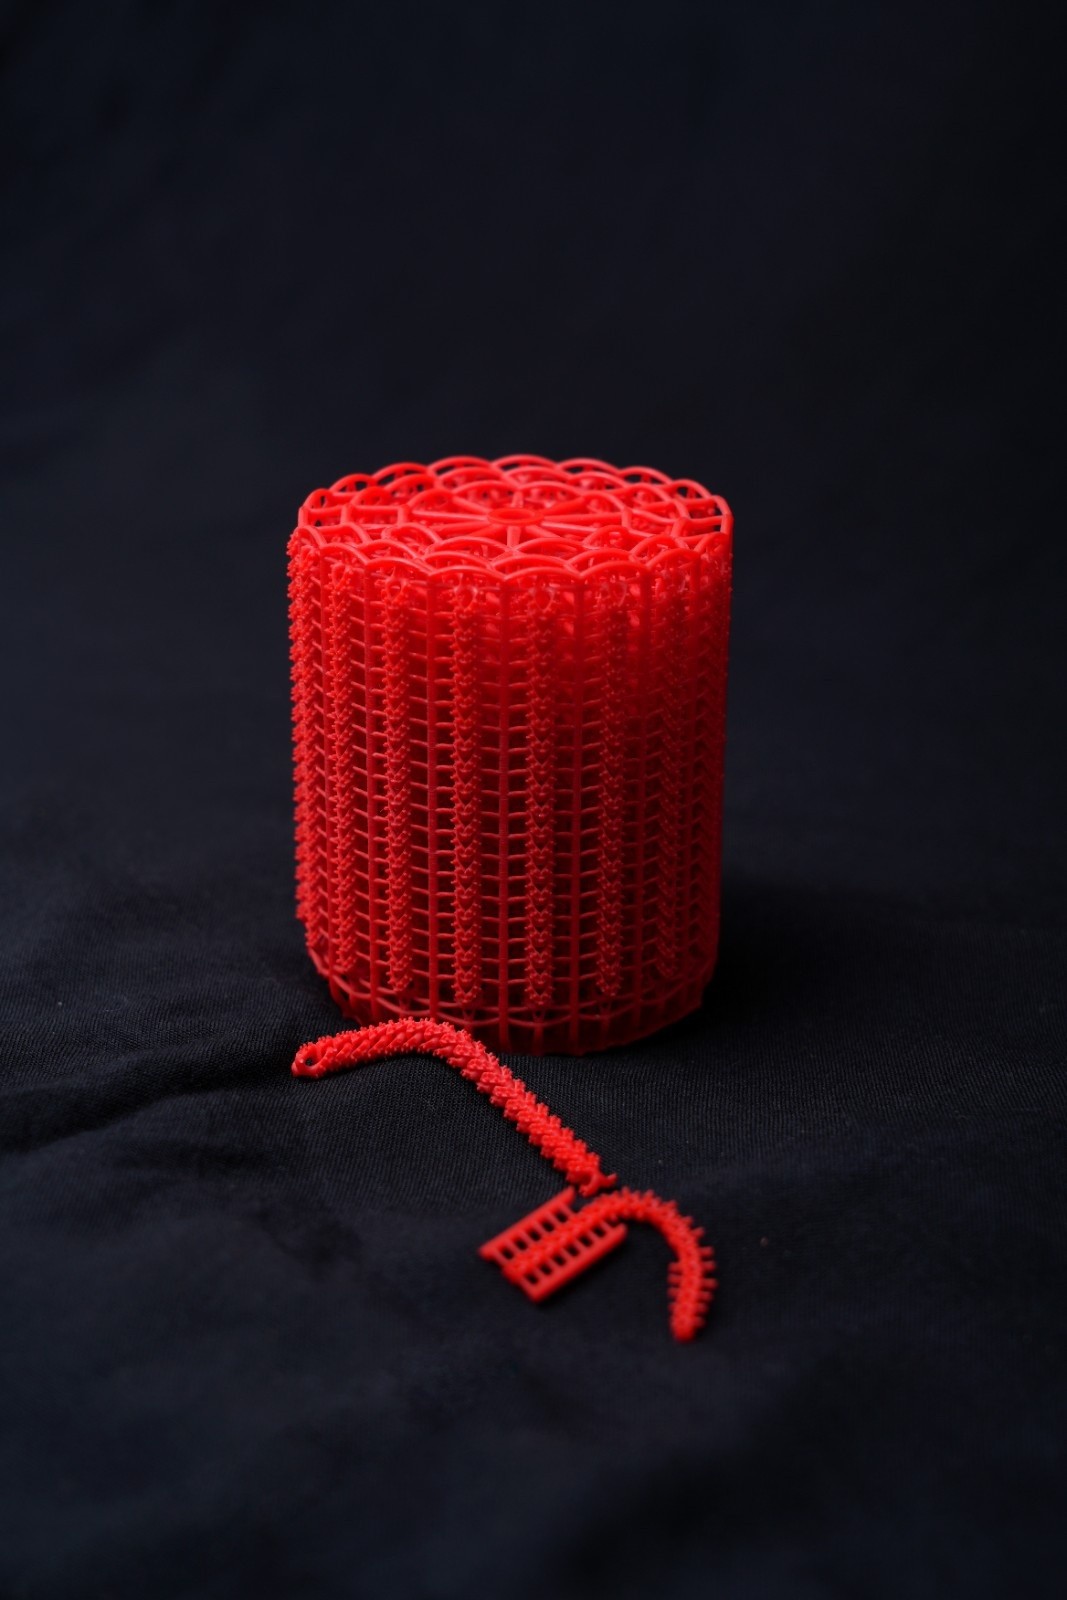
D3D Resin Direct casting wax resin
direct-casting resins

Home /

  • D3D Resin Direct casting wax resin

Red: DC6823 / DC444

D3D Resins - latest innovative resin

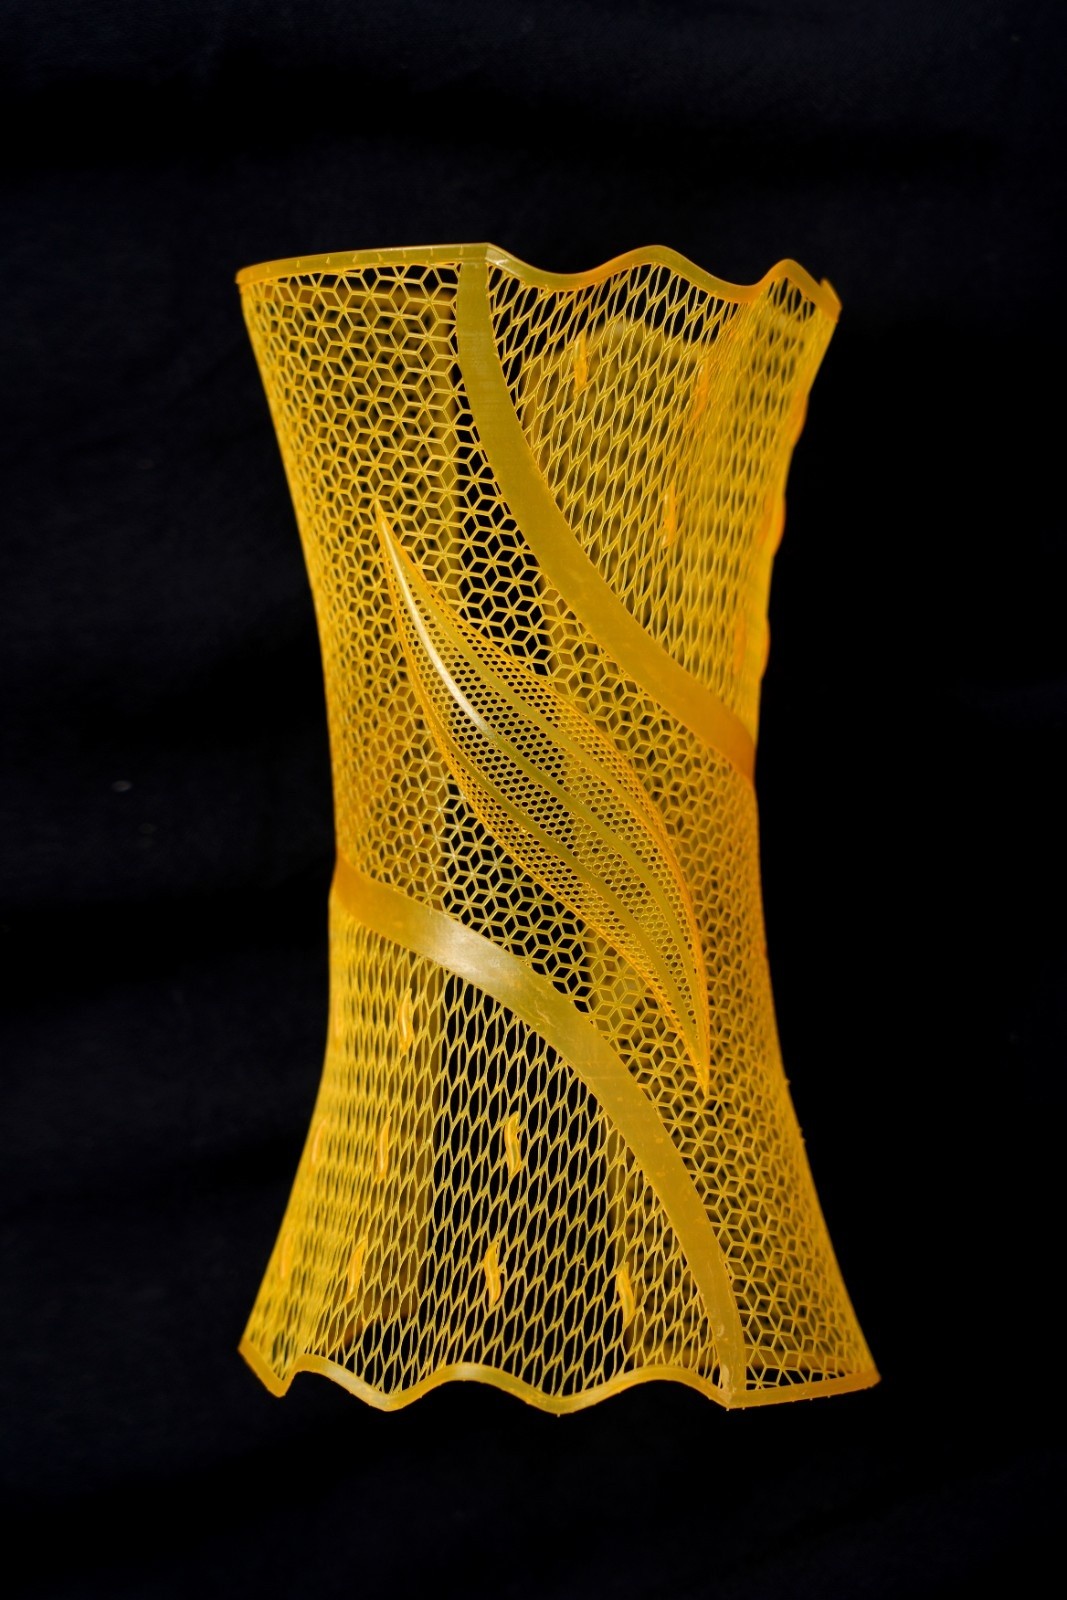
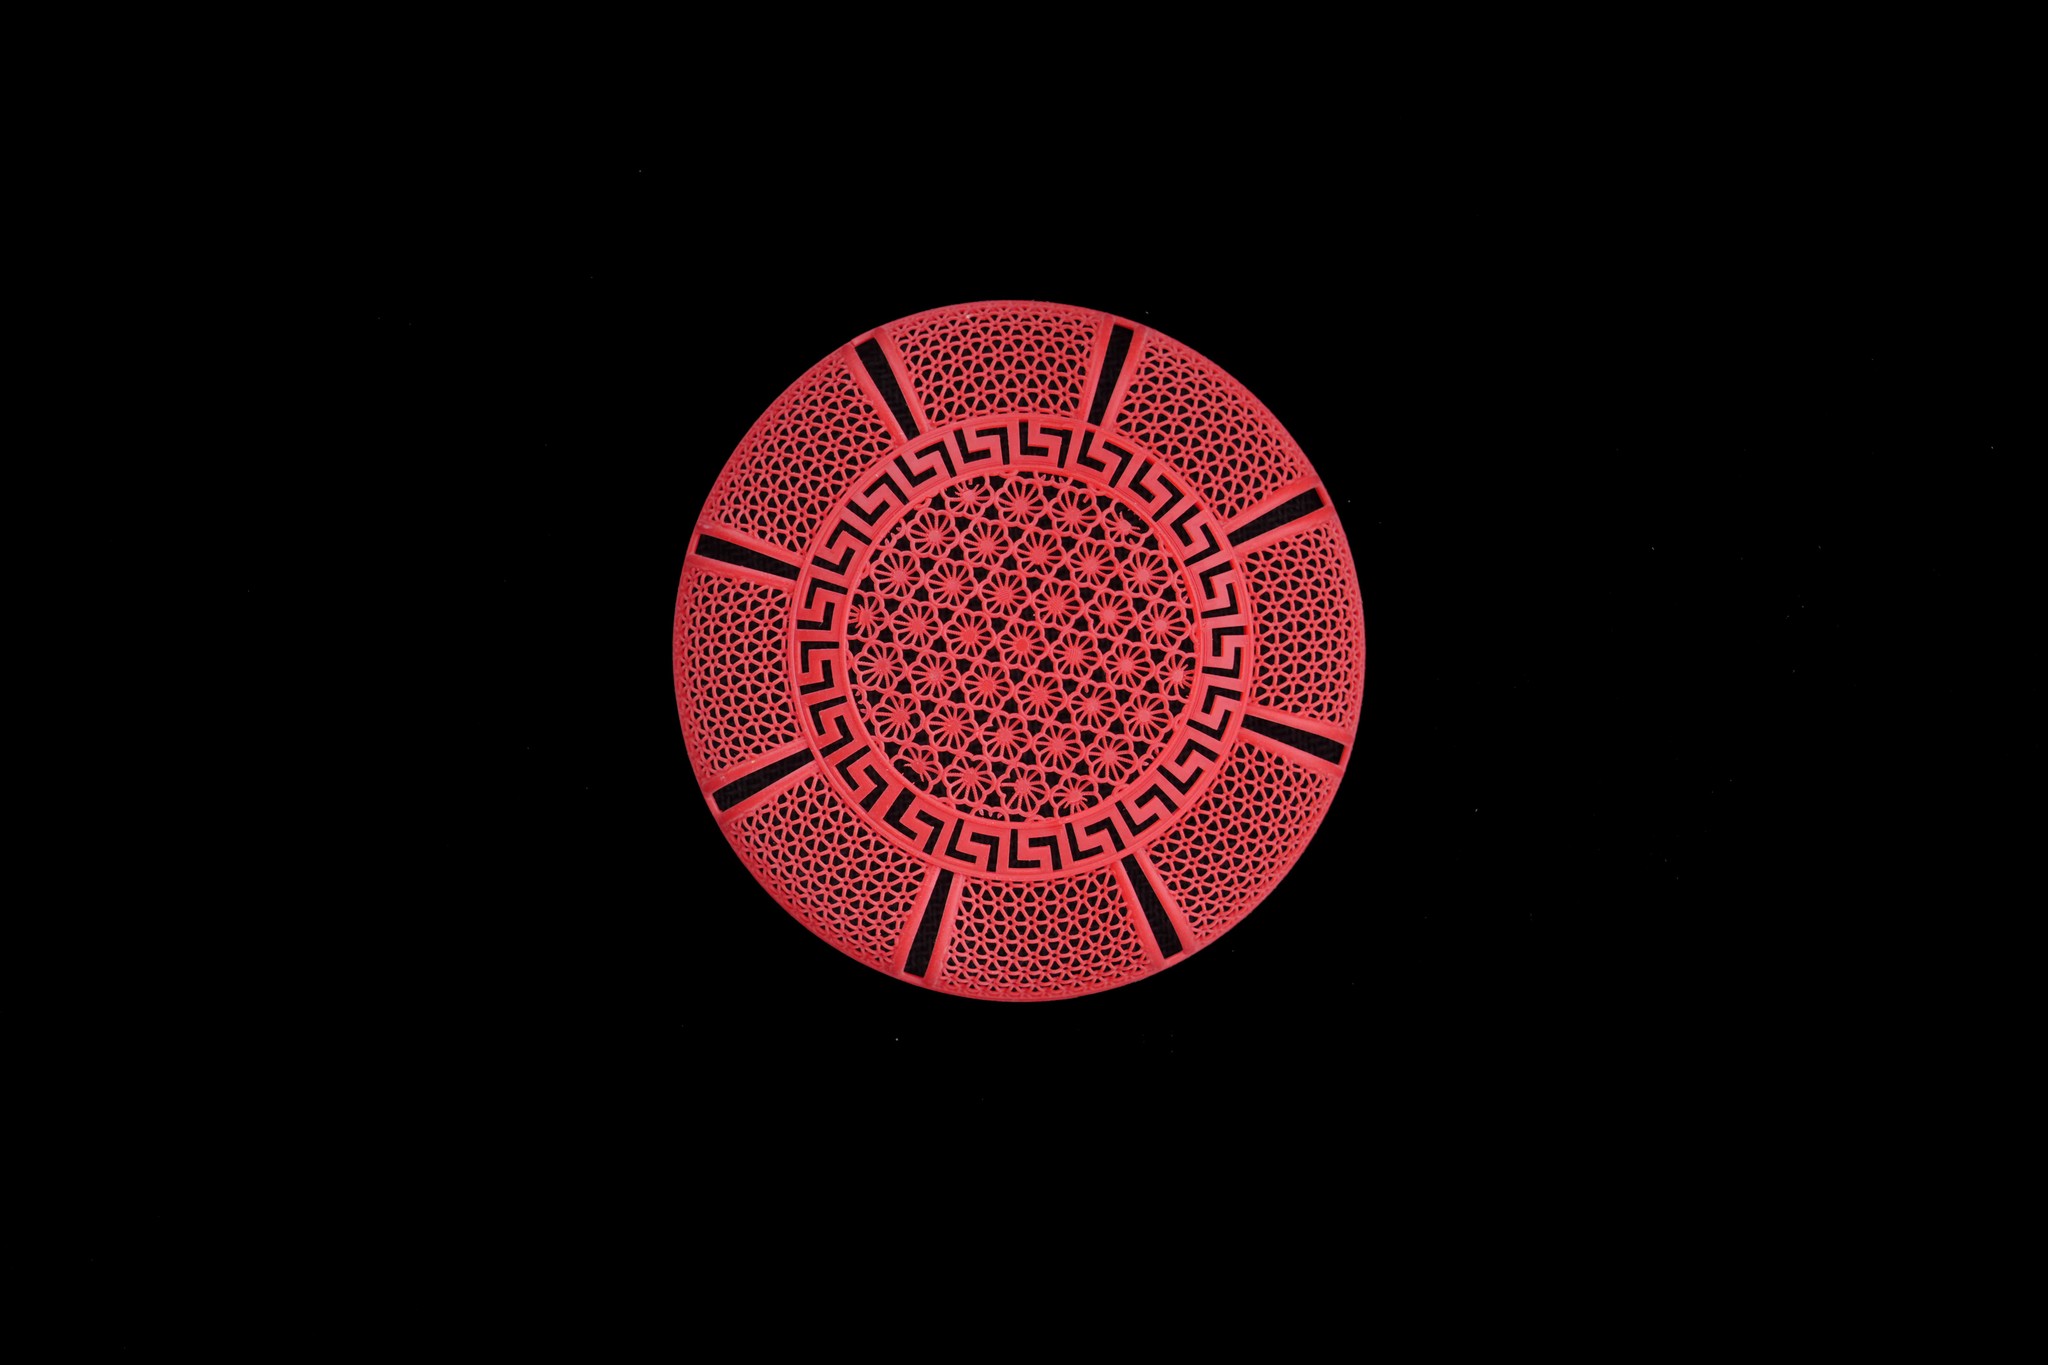
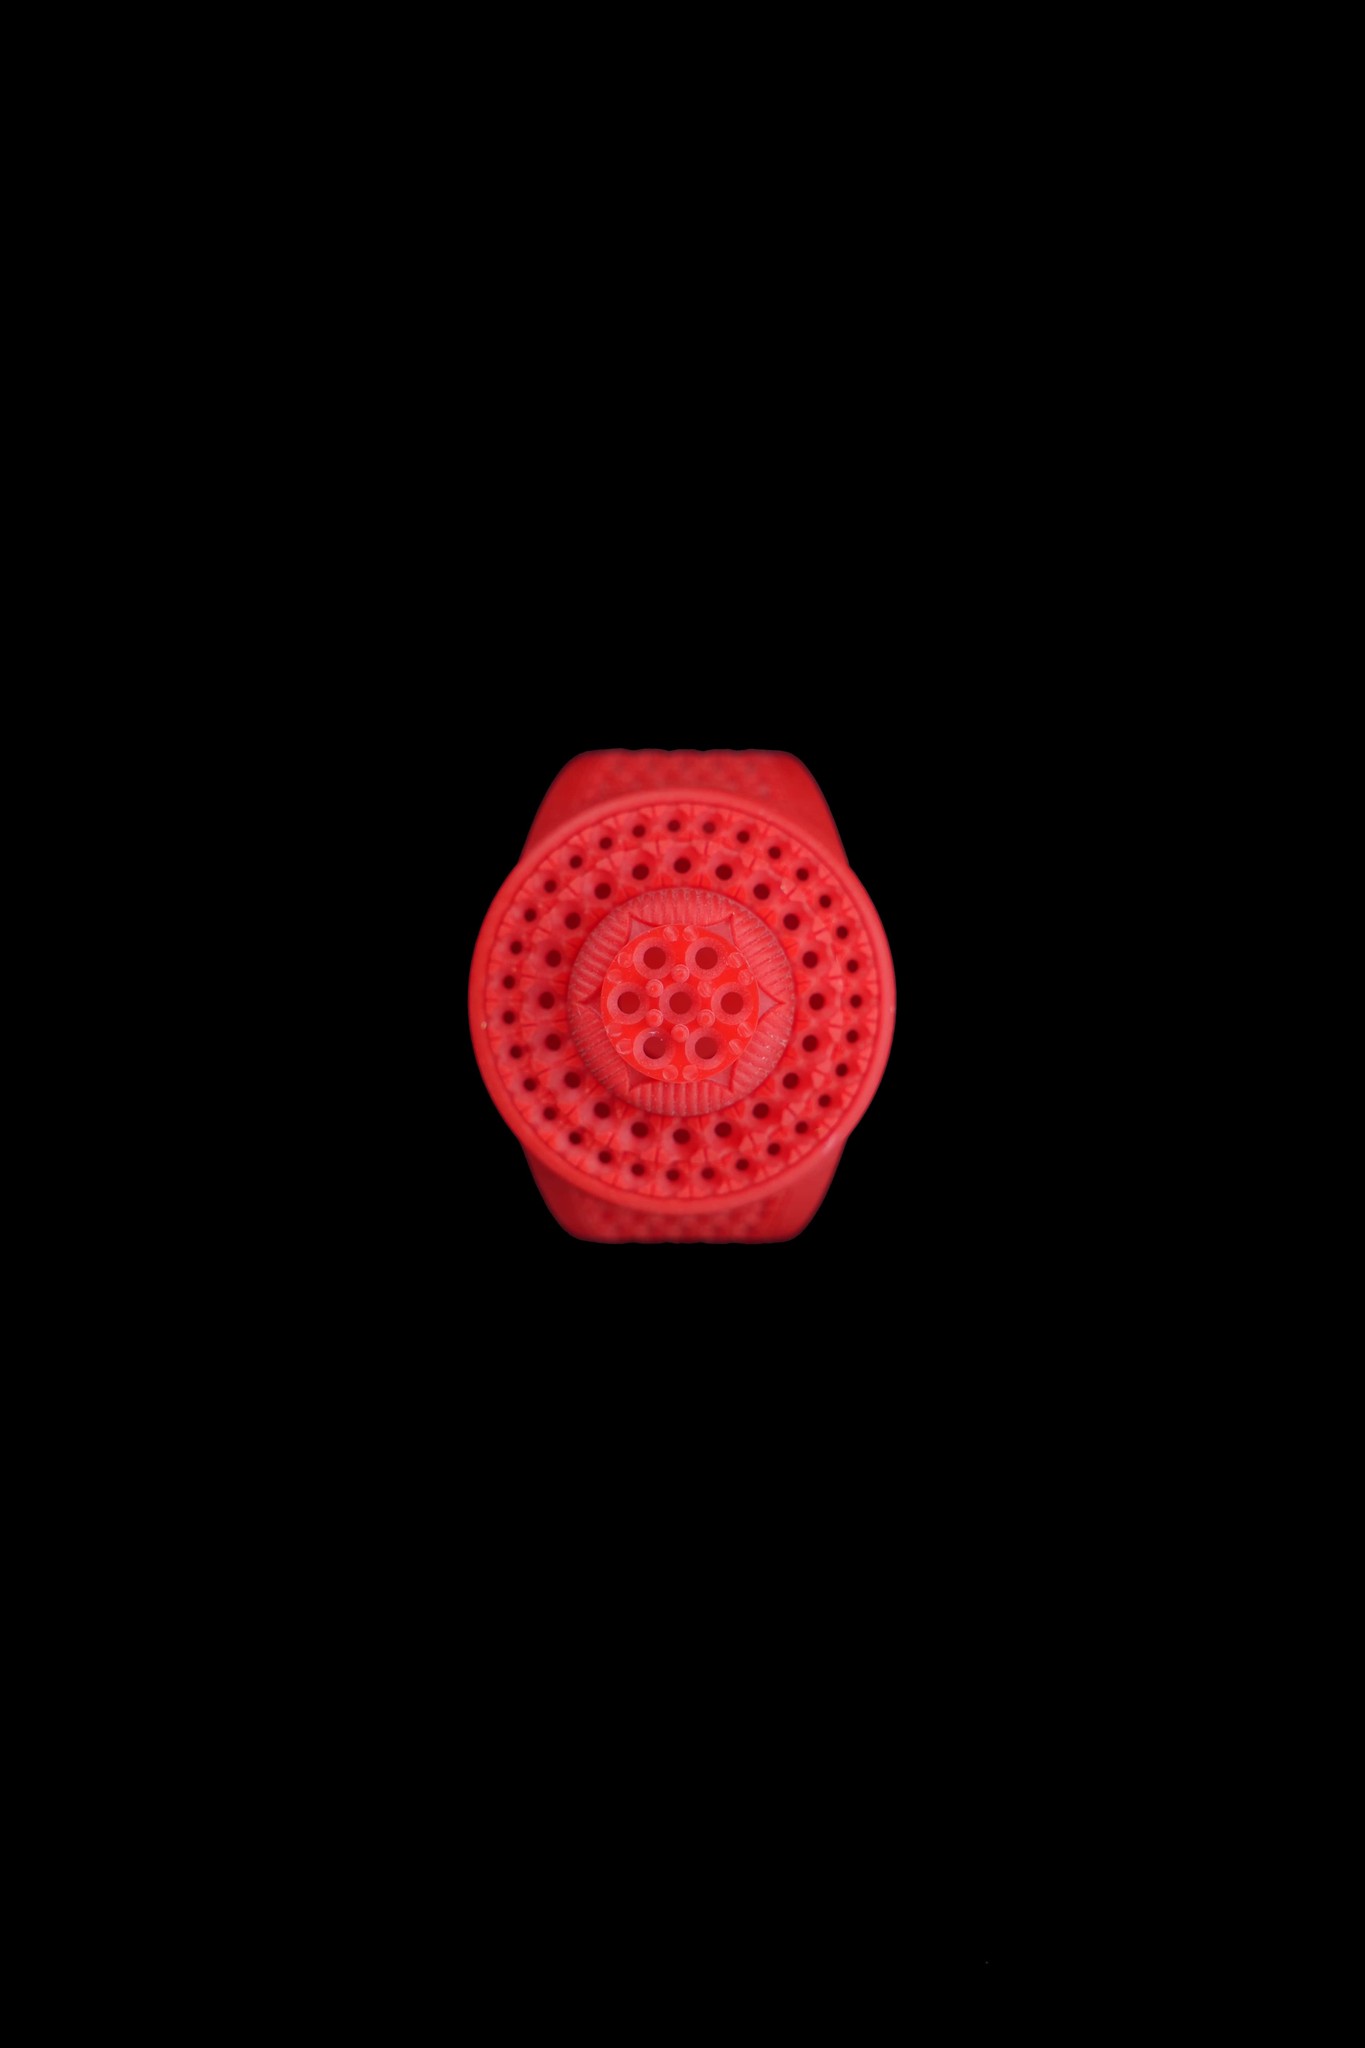
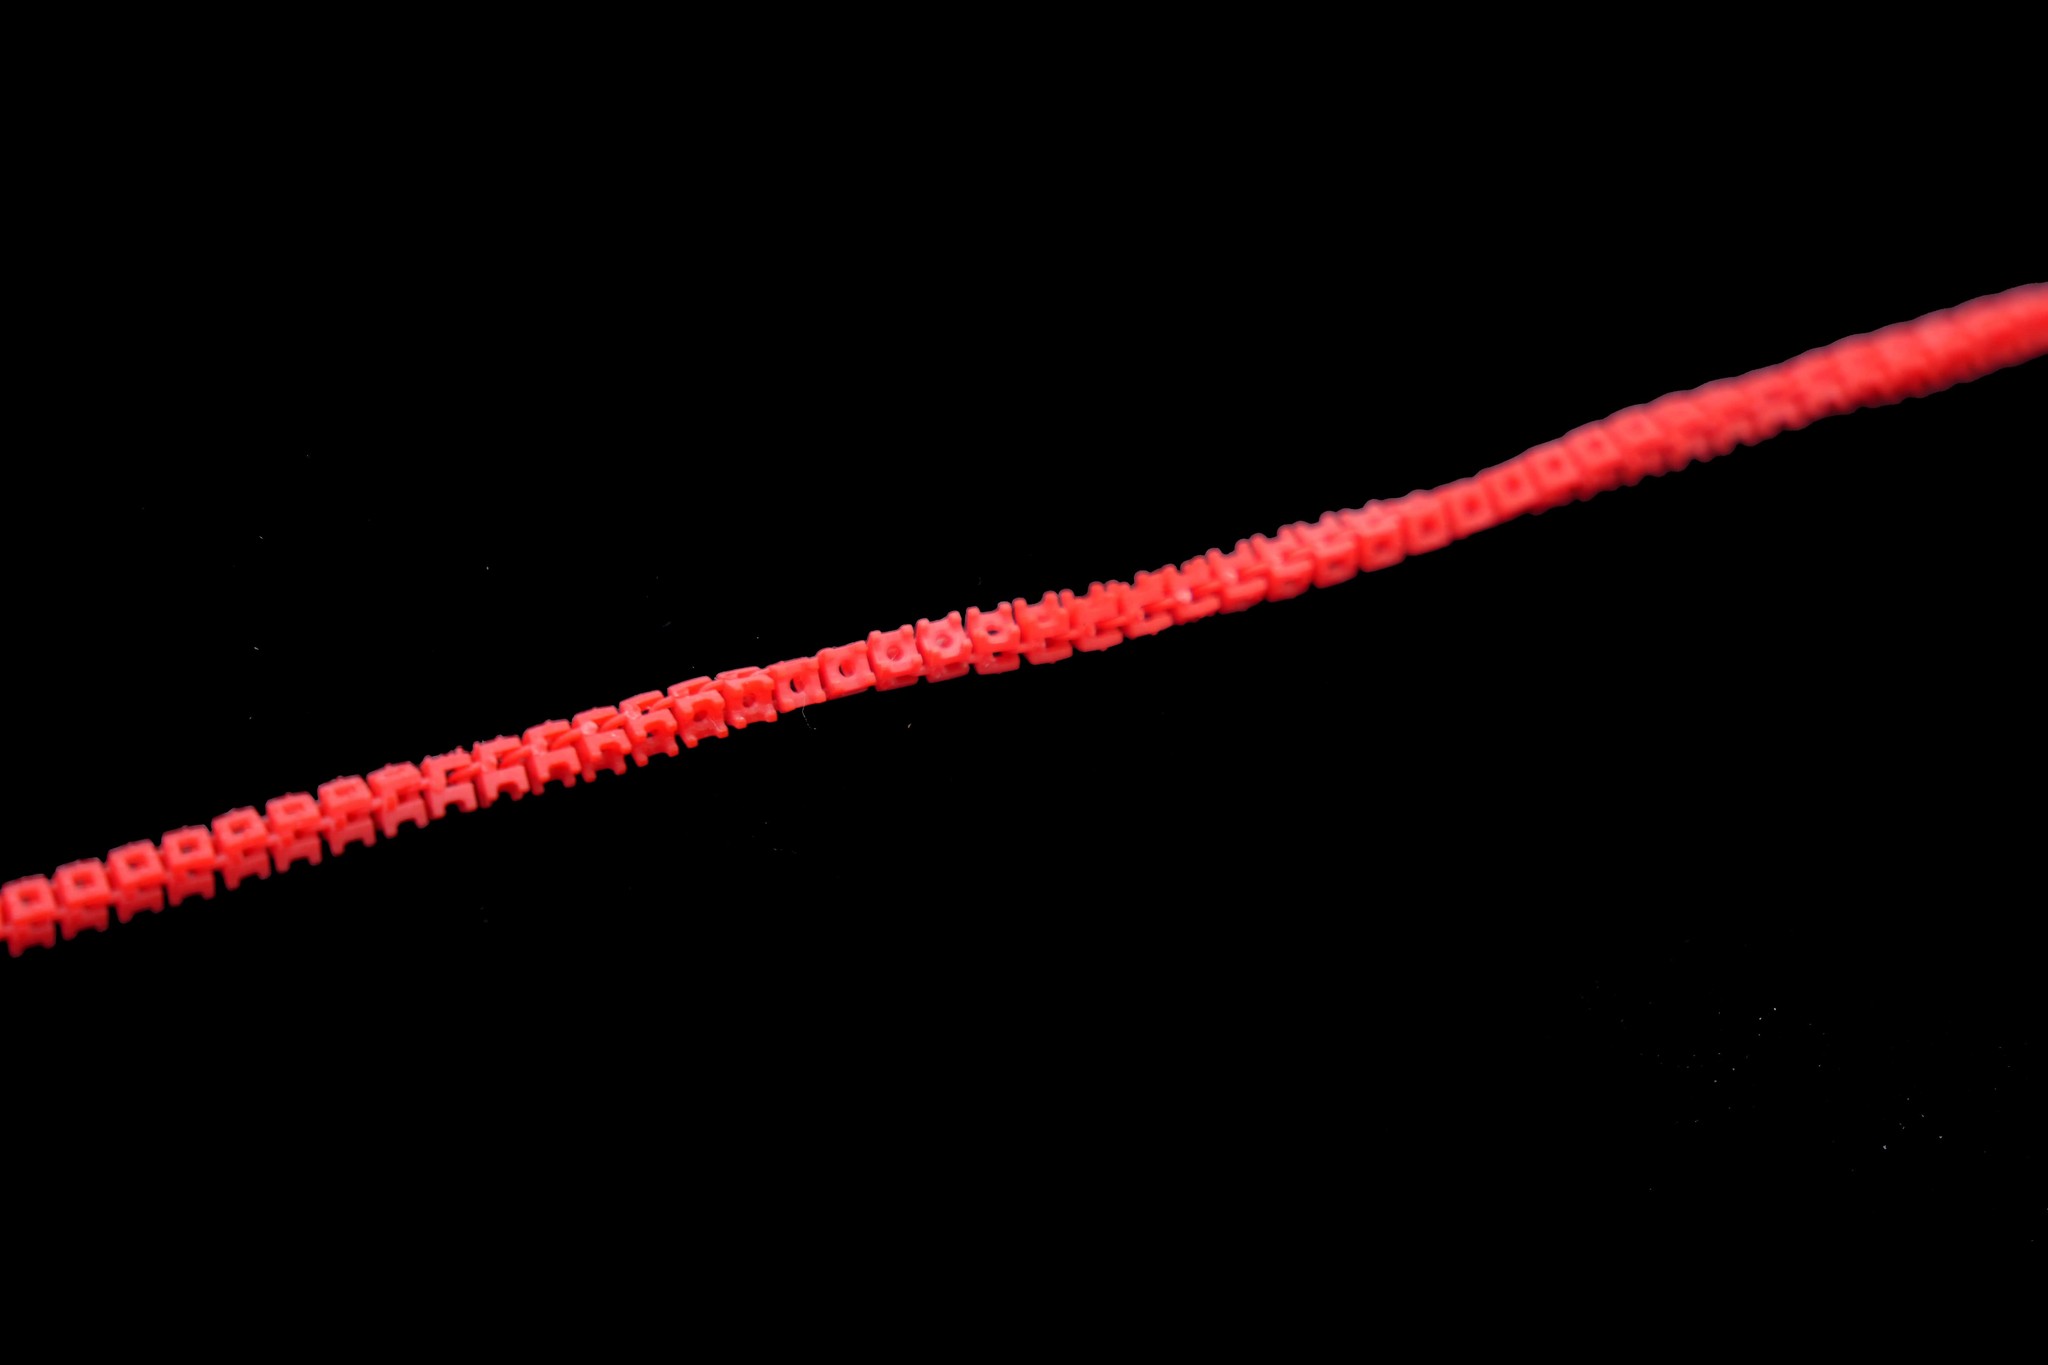
DC6823 / DC444 - is a specially developed direct casting resin for micro pave and tight chains with minimal gap between 2 links.

This latest category of 3D casting resins can offer perfection even in the most intricate designs – with this resin, you can achieve gaps between links that are as minute as 0.06mm. This red resin can give you not only super sharp edges to create unique jewellery designs, but also ensures top quality with every casting. 

Features :
  • Achieve gaps between links of chains / bracelets of as low as 0.06 mm (depending on your 3D printer resolution)

  • ⁠Achieve super micro pave with gaps between 2 prongs as low as 0.08 mm

  • Sharp edges

  • ⁠Top casting quality

  • ⁠Easy burnout

  • Can use normal investment powder

  • Shrinkage less than 1%

Properties :
  • Tensile strength: 25 Mpa

  • Flexural strength: 45 Mpa

  • D shor hardness: 64

  • Viscocity: 660 to 750 Mpas @ 24°C

Post Processing Instructions:
  • Dip in isopropyl alcohol for 1 to 2 minutes until it's mostly cleaned.

  • Spray the prints with isopropyl alcohol to remove any stuck resin or stickiness

  • Put prints in a glass beaker 80% full of distilled water & put the beaker in any UV Curing Oven for 5 to 15 minutes

  • Dry the prints either (A) with a hair dryer manually or (B) in a heating oven at 75°C for 1 hour or (C) in a vacuum drying oven

  • Dip in isopropyl alcohol for 1 to 2 minutes until it's mostly cleaned.

  • Spray the prints with isopropyl alcohol to remove any stuck resin or stickiness

  • Put prints in a glass beaker 80% full of distilled water & put the beaker in any UV curing oven for 5 to 15 minutes

  • Dry the prints either (A) with a hair dryer manually or (B) in a heating oven at 75°C for 1 hour or (C) in a vacuum drying oven

Recommended Burnout Cycle :
Step 1

Room Temp to 100°C
Ramp @ 2°C/minute = 30 mins
Hold Time: 3 hours
Total Time: 3 hours 30 mins

Step 2

100°C to 730°C
Ramp @ 5°C/minute = 2 hours 6 mins
Hold Time: 4 hours 30 mins
Total Time: 6 hours 36 mins

Step 3

730°C to Cast Temp
Aprox 30 mins
Hold Time: 1 hour 30 mins
Cast
Total Time: 2 hours 30 mins